Monday, October 10, 2016

Michael Bradley Reek Casting Series

Inspiration and original 3D sculpt

The original inspiration for this project came from Star Wars - Episode II: Attack of the Clones.  In the film, the digital creature is known as a Reek.  The model I sculpted in Mudbox is loosely based on the creature, with some obvious stylistic changes. 


Original 3D prints

In Order to 3D print the model, I worked through Maya to seal off the models, and used Rhino to convert the .obj files to .stl.


Prepping for Casting - Cutting off tusks, and coating with XTC-3D

After 3D printing the the models I prepared them for silicone casting.  To cast the bust model I had to cut off the tusks with a hobby knife, ad fill the holes with a small amount of clay.  The models were then coated in XTC-3D to seal the surfaces.

Molding Relief

The relief model required about 7 layers of silicone, especially to build up a cut seam beneath the horn. 

Molding Bust and Tusks separately

A small separate mold was made for the tusks so that they could be cast apart from the main model.  The main model was cast using metal flashing, and the tusks were cast using a clay boundary.


Casting, first failures

The first casting I attempted, I unfortunately didn't mix the two parts well enough and after 30 minutes the cast was only partially hardened.  It took several more casts and a good amount of scrubbing to finally get it clean.


Casting, success


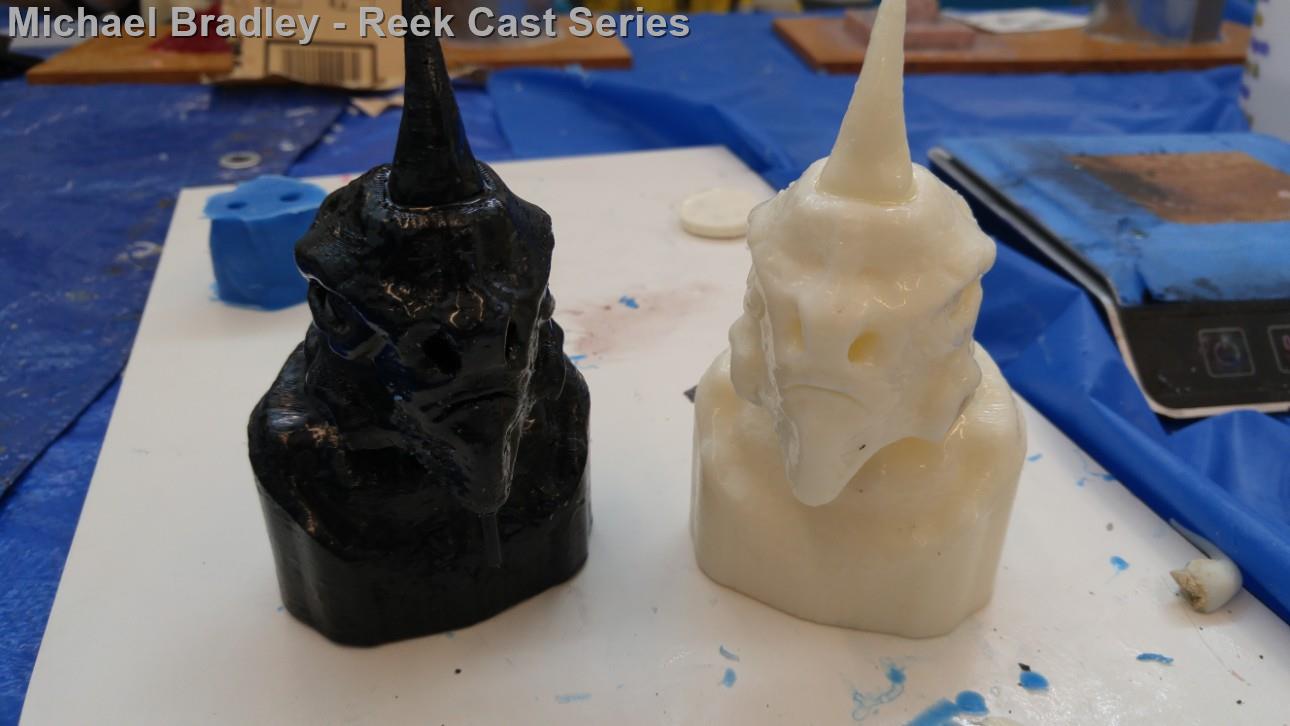
Casting, Antique pair

For this pair of casts, I used eyedroppers to pour bone white resin into the mold to fill the horns and tusks first, and then cleaned any spill out with a knife.  Then I filled the rest with black resin and painted them.  I chose to emphasize the ivory color of the tusks and horns, so I painted them with a yellowish undercoat, with some orange and green highlights, finishing with a good amount of dry brushing with white paint.

Casting, gargoyle pair

For this pair of casts, I chose to cast the entire models in clear resin, while setting a pair of LEDs in the mold before pouring the resin.  The LEDs were wired into a small watch battery pack which I suspended at the top of the mold for later access.  To paint the models, I first primed them in black, did a wash in grey, added some yellow and brown highlights, and then drybrushed with white. To finish the horns, I used a copper colored sharpie and a cotton swab to apply the finish gradually.


Casting Stain-Glass Pair

For this final pair, I poured several flat pools of colored clear resin and allowed them to harden mostly.  I then broke these thin flat plates of mostly hardened resin into small chips.  To fill the molds, I poured a small amount of clear resin with a slight blue tint and slushed the mold so that there was a sticky layer around the inside of the mold.  I then took the pieces of the broken colored plates and strategically placed them inside the mold, fitting as many as I could to fill them entirely. Then I filled the molds with more blue tinted resin to finish the stain glass look.


Painted Series


Sunday, October 9, 2016

Anime girl Compositions

Link to my presentation: https://sway.com/ZnDj1wJPrYiERITO
My Relief and Block molds:


I chose the Smooth Cast 320 - off white casting material to play around with colors. As my 3d print is an Anime girl I repeated the casting process exploring various colors to inspire different states of emotions.


Cast and the 3D print


A full white composition as above projects innocence due to neutrality of white. Grey is also a neutral color and since it's derived from adding a darker black tint, I like to think that it portrays depression.
                                       

To explore bright colors, I tried purple and red shades to add beauty and mystery to the model.


The purple cast looks like a mask and the first word that comes to my mind to describe her is 'vigilante'. In a manner where she is fighting her own battles and defining life in her own terms. I wanted to bring out the color of compassion using a light shade of red, but it might've turned out a little too vibrant for what I had in mind. 


Saturday, October 8, 2016

Molding Project _Andrew Ward

My Initial Idea had been to create a squid playing in a pool with a toy boat. I modeled him out and then discovered that it would be best for me not to pursue this further, especially for first time mold making.

Too many gaps could cause complications.


So then I had to choose something else.


For my next project, I chose to do a bust of batman. My limited time stopped me from having enough time to come up with something altogether new so instead I chose to do a Study, unfortunately I found out after this again that it the professor was expecting something more original instead of a Study.


After this, the next step was to figure 3D print and create molds


Once I had my molds ready I had to decide how I wanted to color the new casts. I was thinking about how Batman is usually displayed in one of two ways...super serious nightmare batman, aka Dark Knight, or the more whimsical fun batman often labeled as the Caped Crusader. So for my two color choices for casting I wanted to do my own take, so for one set of castings I chose colors more akin to a dark nightmare while the other set is a bit more ridiculous and out there. Often times people like to create their own version of batman in some silly setting, so I did this for the whimsical bust, instead of having a full head mask, i made part of his outfit hood based and the hood actually contains the iconic ears instead of the actual suit.

In order to achieve the hood, i took some plumbing epoxy and shaped it onto the cast.


I sanded a bit, but my style is a bit more conceptual than ever fully refined. My paintings, drawings and many of my sculptures (outside of actual production work) are always left rough because the goal is to get my idea's across rather than spend excessive amounts of time refining and then refining further only to have ideas shot down, that is how you become bad at your job when your job is to create ideas.