My works are heavily influenced by digital aesthetics and the pixelization and degeneration -- or 'glitch' -- of digital images. I appropriate classic works and transform them using digital means. In this way, I contrast old painting techniques with newer digital aesthetics. After having spent time experimenting with these aesthetics, I am at a point where I desire to take a step back and retrospectively solidify the conceptual basis of my work where I find inspiration from the current culture growing within the digital world. Ideas and images that contribute to digital culture are copied and shared across the internet very quickly. So quickly, that those who are exposed to this chaotic vomit of images and information from the internet are no longer viewing the physical beauty of a single original object, but are instead acclimated to seeing bulk copies of an image that leads to other related images. As the chain of related images and ideas continue to branch out, they are recontextualized so much so that the end product is only faintly similar to that of the initial source. An obvious example of this phenomenon can be observed with "memes". Within this realm we see everything as an appropriation of a previous work constantly being recontextualized as it is constantly being reproduced. We appreciate the practicality of being able to reproduce an object and continue transforming it. In the end, the entire work is not the end product you see but the constant transformation of several models into its final state. In parallel, the process of 3D printing and molding also enables the fast reproducibility of a single work. Following the same line of thinking, I preferred to keep the original texture of my 3D print and letting the constant casting transform the textures of my line of Davids. The previous casting of one David created a defect in the next one. My most recent Davids have less nose than the first one and are smudged with the materials of the previous David for that reason. Moving ahead with upcoming projects I will be more aware to work with this idea in mind as I become more familiar with the process.
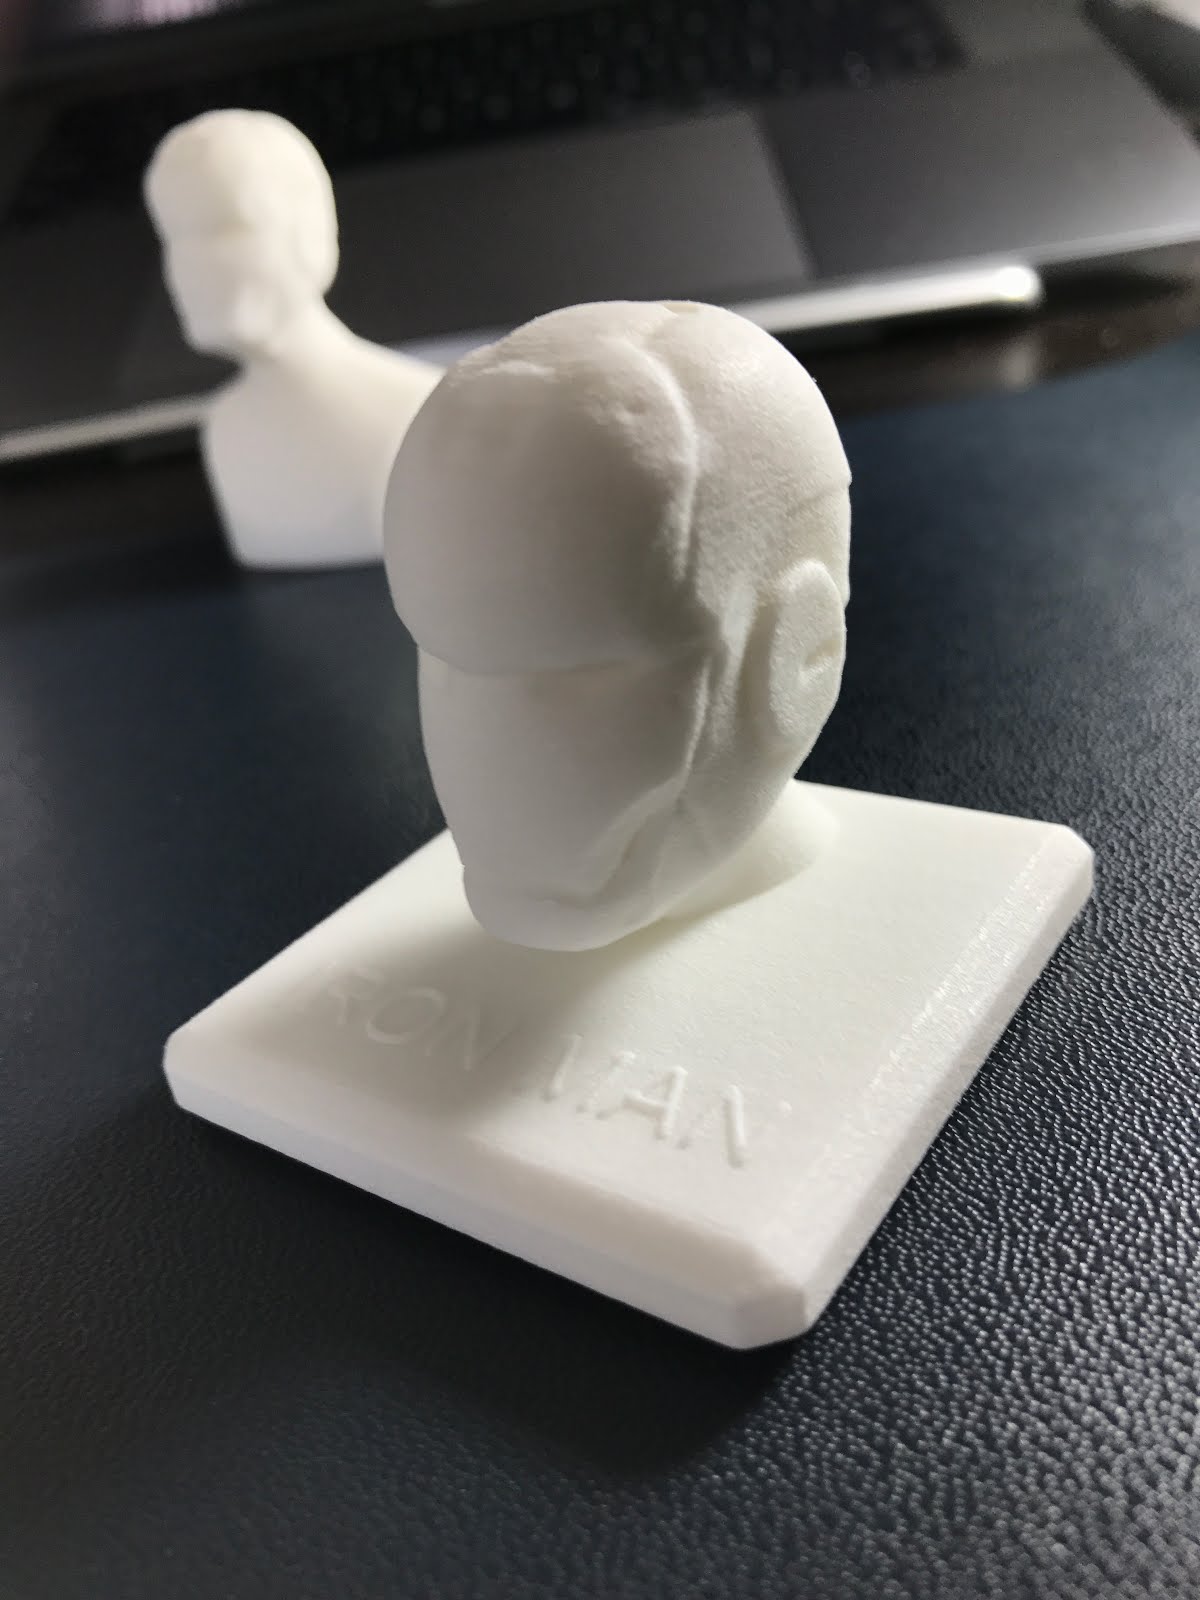
My idea came from one of marvel heroes – iron man.
3D Sculpt (Week 1-4)
Then I started using Autodesk Mudbox to sculpt it, and used Autodesk Maya to close the edges and build the relief. At last but not lest, using Rhinoceros scaled to the proper size and check every edges if they close perfectly.
This video shows the sculpting process.
Iron Man (Left: Rusted Effect, Right: Original)
Original Iron Man Relief
Rusted Iron Man Relief
Order 3D Print From Shapeways (Week5)
Once was done the 3D modeling, we can start to send files(must use .STL file format) to print. I decided to choose Shapeways to print my works. Their website shows clear instructions and easy to scale your size online, also they provide a lots of materials to customers. But the weak point is that Shapeways needs time to wait from order, ship to turning in your hand.
Customer can scale easily and choose many materials
Finished products from Shapways
Preparing for Casting – Reynolds Advanced Materials
I went to Reynolds Advanced Materials to get the molding and casting materials.
Mold Star 30 for bust mold.
Rebound 25 for Brush-On mold.
Casting material.
Mold Making Process (Week6-8)
First, if sculpture has a sharp chin, we need to make a vine hole that is able to let air bubbles come out when you pour the casting resin. Then using hot glue sticks your 3D prints on the work board.
BUST MOLD:
Using clay to build the container for filling silicone. We used Mold Star-30 for bust mold.
Z shape cut to prevent mold from distorting.
BRUSH-ON MOLD:
A brush-on mold will be created by using layers of Rebound-25 silicone to capture your 3D printed relief model. There are distinct layers that are created when making a brush on mold:
Detail (print) Coat (Most Important)
Tint Coat
Undercut Fill Coat
Finish Coat
Detail Coat Brushin
Finish Coat
Because the brush-on mold is thin, it needs to be supported in order to capture models. This is done with the Mother Mold. We used Aqua-Resin to create a thin shell that is reinforced with fiberglass.
1 liquid(L) : 2-3 powder(S3)
Mother Mold
Fiberglass Reinforcement
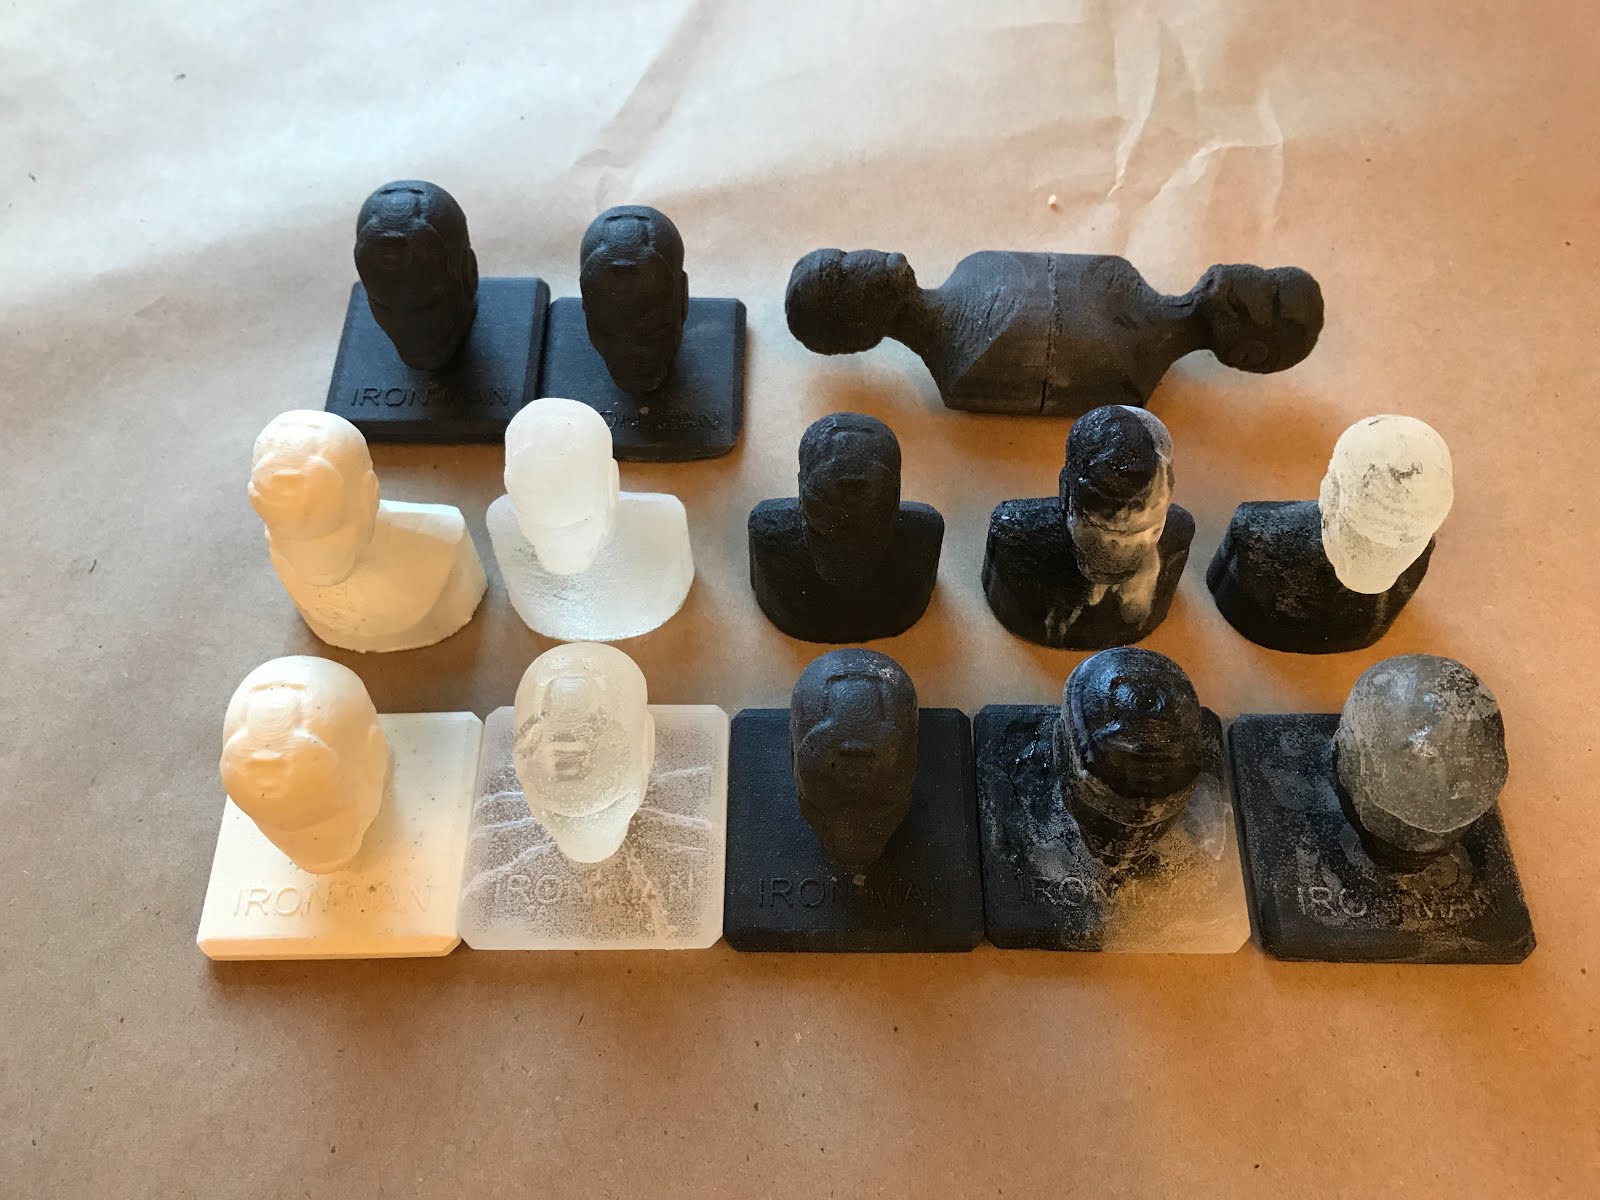
Casting Process
I used Smooth-Cast ONYX to cast my works, and using different color casts played around with it.
For our modelling series, I will be exploring and extrapolating on a piece of concept wearable tech I'm calling "The Biological Watch." This critical design concept will explore the interplay between the body and technology and the rise of technology monitoring and communicating every aspect of our biological underpinnings through sensors and bluetooth technology. This design fiction is "marketed" to "career minded women to be able to watch their biological clock." It features monitoring for monthly fertility cycle awareness as well as planning calendars to chart the impact and significance of having a child at various life stages.
In 3D Studio / Digital Fabrication, I will be developing the physical components that will hold the technology for the watch. The first step was to develop shape of the watch face, which I accomplished in Fusion 360. For the design it was necessary to make sure the watch could hold the micro-controllers needed to develop a degree of technical functionality. For this preliminary step in the development of the piece, I did not hollow out the watch face for my focus at this stage is to achieve the right sensibility in the shape of the watch. The design intent of the shape implies a "futuristic contemporary woman," to imply a not so distant future in which this product might live including a large watch face, spanning the entire top of the wrist, and a curvaceous streamlined shape.
In preparation for future renderings of the watch, as well as display for the HASTAC conference where the design fiction will be included in a digital humanities, wearable tech gallery, I worked with Dr. Scott to make a life casting of my left hand and forearm. I will cast the arm again to achieve a different outcome than the first test mold, following which I will 3D scan the injection mold to bring my hand and wrist into a digital fabrication workflow for CAD modelling this project and other wrist based wearables.
The below link is the album for the project's photos. Please feel free to use, share, and download!
P.S. If you guys have other pictures, you can upload to this album.


